My Honest Truth About Craft Fails and Funny Mistakes
Last December, I had a strong urge to make something special for Christmas. I wanted a project that felt playful, meaningful, and big enough for my baby to enjoy. After looking through a few boxes of leftover cardboard from recent deliveries, I decided that a cardboard candy house would be the perfect idea.
The plan sounded simple in my mind, and I imagined bright colors, cute candy decorations, and a cozy little space where my baby could crawl inside and pretend it was their own gingerbread hideout.
However, the reality of making it was far more chaotic than what I pictured. I learned quickly that holiday crafts come with their own surprises, especially when glue guns, cardboard edges, and a curious toddler all get involved at the same time.
Planning the Candy House
Before I started, I gathered everything I needed so I wouldn’t have to run around the house searching for things while my baby waited on the floor beside me.
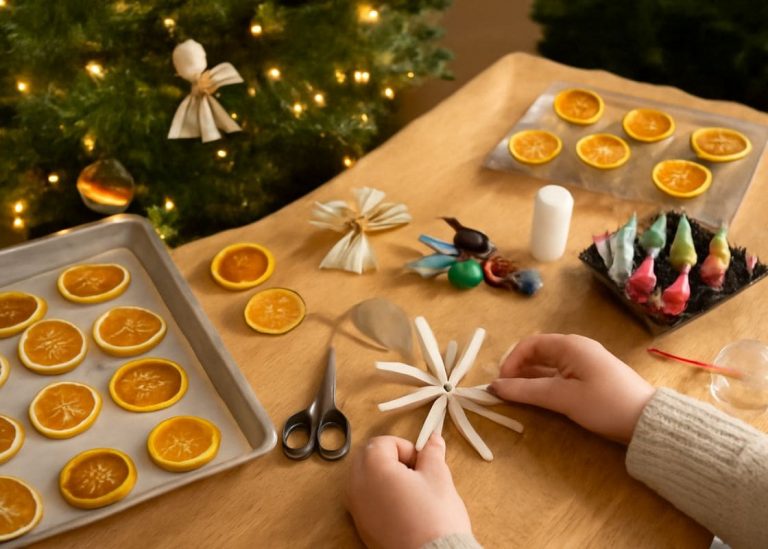
I collected a stack of cardboard panels, leftover wrapping paper, the hot glue gun, a small bag of bottle caps saved from the recycling bin, some colored paper, twine, paint, buttons, scissors, and a roll of tape just in case.
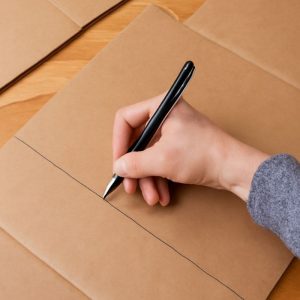
Once I had everything laid out, I drew simple outlines of the walls directly onto the cardboard. The lines weren’t perfectly straight because my baby kept crawling over to see what I was doing, but they were good enough for what I had in mind.
I wanted the candy house to look playful and homemade, not like something that belonged on a magazine cover. As I cut the panels, the room felt warm and cozy because the Christmas lights were already plugged in, and a cinnamon candle filled the air with a soft holiday scent.
When The Struggles Began
The first moment of trouble came when I tried to glue the initial two walls together. The hot glue dried faster than I expected, which meant I had only a second or two to press the pieces into place before they hardened.
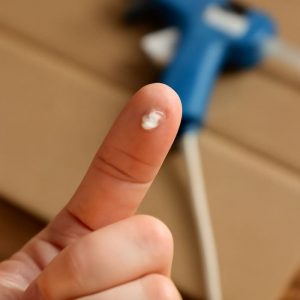
I leaned forward quickly, trying to adjust the corner, and ended up brushing the glue with my thumb. It stuck instantly, creating a thin layer of hardened glue on my skin. My baby laughed because I made a startled sound, and Evan called from the other room asking if everything was okay.
I continued gluing, but the corners kept shifting slightly, so the structure already looked a little crooked. I tried to fix one side, and the glue touched my other hand. Soon both my thumbs were covered with thin plastic-like layers that felt tight every time I moved them.
I kept going because I didn’t want to stop halfway, but the more I worked, the funnier the whole situation became. Each time I thought I had the cardboard under control, it found a new way to tilt or slide.
The Glue Gun Disaster
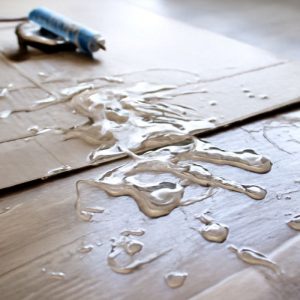
The biggest mishap happened when I leaned forward to attach the roof. While reaching for the edge, the tip of the glue gun lightly brushed my wrist.
It wasn’t hot enough to burn me, but the surprise made me jerk my hand away, which caused the glue gun to wobble and drip long strands of glue all over the surface of the roof. Instead of neat lines, the glue created thin strings that looked like spiderwebs stretching across the cardboard.
Fixing the Mess as Calmly as Possible
Even though the project had gone completely off track, I didn’t want to stop. I reminded myself that cardboard crafts don’t need to look perfect, especially ones meant for children.
I removed the glue strings gently and trimmed the most uneven parts of the cardboard. Instead of painting over the messy roof, I covered it with a large sheet of leftover wrapping paper that hid almost every mistake.
Next, I added twine around the edges to make the corners look more intentional. The bottle caps worked well as pretend candy buttons, and I glued them onto the sides to distract from the areas that still looked crooked.
The whole process felt like patching up a project piece by piece, but surprisingly, it started looking cute. It wasn’t perfect by any means, yet it captured the playful look I originally wanted.
Tips That Helped Me (And Might Help You Too)
Here are a few things I learned from this entire experience, especially if someone else wants to try a similar project at home:
• A bowl of warm water nearby makes removing dried glue from fingers much easier.
• Using short glue dots works better than long lines when you need more control.
• Keeping scrap paper under the work area helps prevent the table from getting messy.
• Letting the glue gun warm fully prevents the glue from becoming overly stringy.
• Tape can save corners better than glue when cardboard refuses to stay in place.
• Accepting crooked edges early on makes the whole experience less stressful.
Looking Back at the Finished Candy House
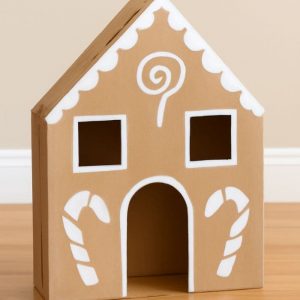
By the time I finished decorating the candy house, it looked cheerful, colorful, and full of little details that made the room feel festive.
It leaned slightly to the left, and the roof still had one corner that didn’t sit perfectly straight. But when my baby crawled inside again with a big smile, all the craft fails instantly felt worth it.